

Get the right Bumpbar for you!
Bumpbar - Nylon Repair Kit (TDS-R)
Bumpbar - Nylon Repair Kit (TDS-R)
Get the right Bumpbar for you!
Get the right Bumpbar for you!
You must select a restaurant/POS vendor from the dropdown above to add this item to cart.
Due to how many restaurants and POS vendors we support here at KRS Corporation, it can be a bit confusing which of our Bumpbars is right for you. Using the dropdown above, you can find all the options we support.
When you select an option, an image of the Overlay Insert for that restaurant/POS will appear below the dropdown.
Not sure which one you need? Click here to find your Bumpbar.
If you still need helping figuring out which option is right for you, please contact us.
Toast Customers: Looking for Bumpbars for your Toast devices?
Toast Customers: Looking for Bumpbars for your Toast devices?
Please click this link to view our Wired Bumpbar for Toast Devices.
Couldn't load pickup availability
- Fast Shipping
- 1-Year Limited Warranty
- 21-Day Returns
Click here to purchase discounted 12-Pack
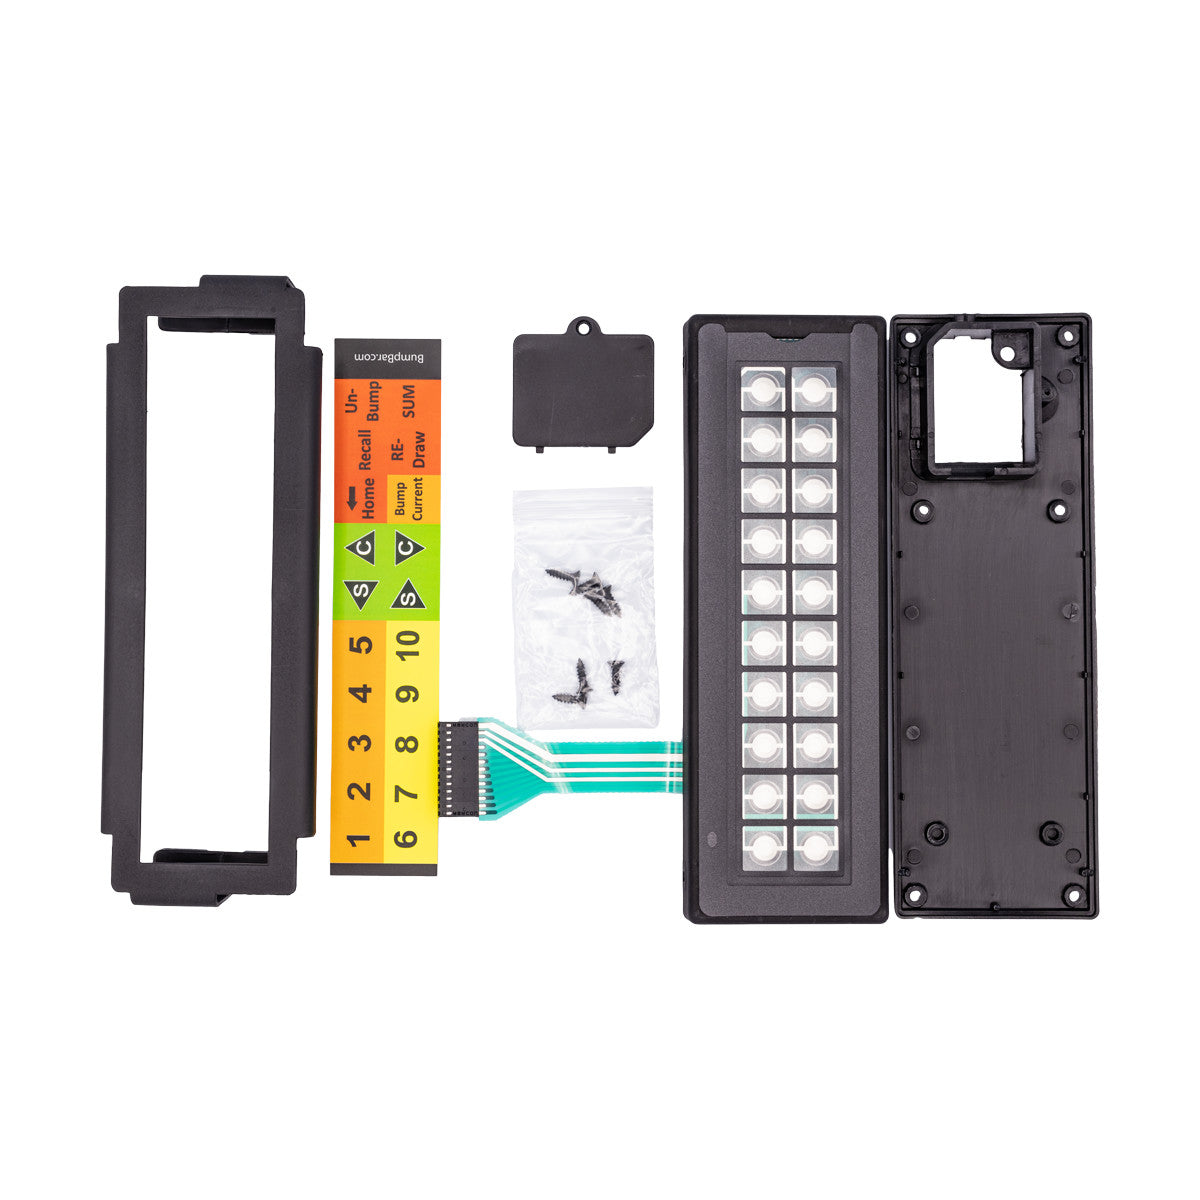
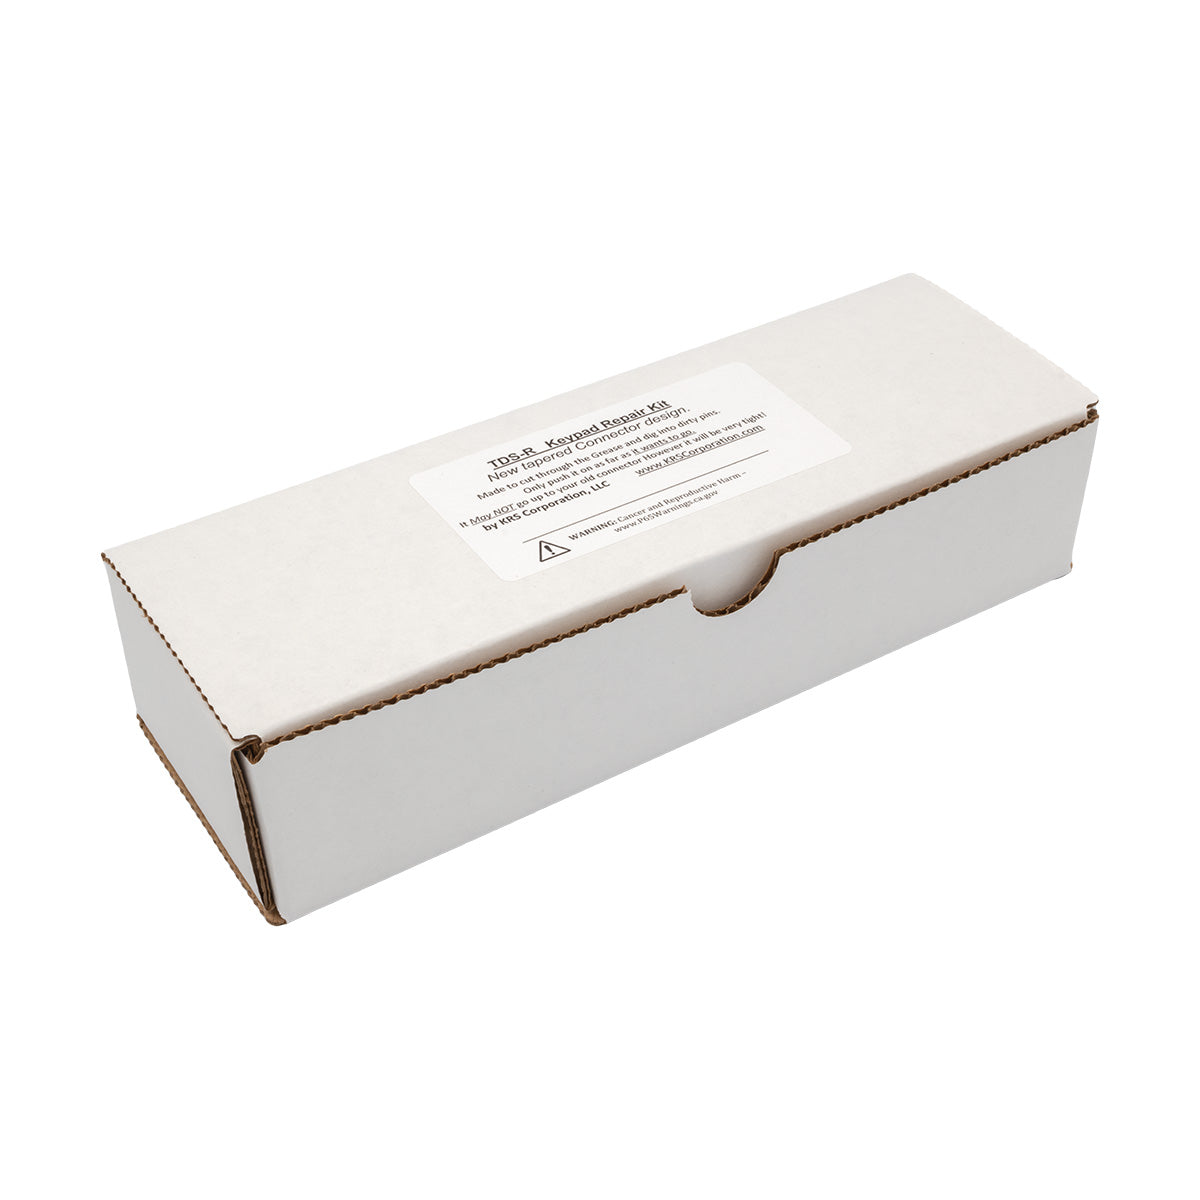
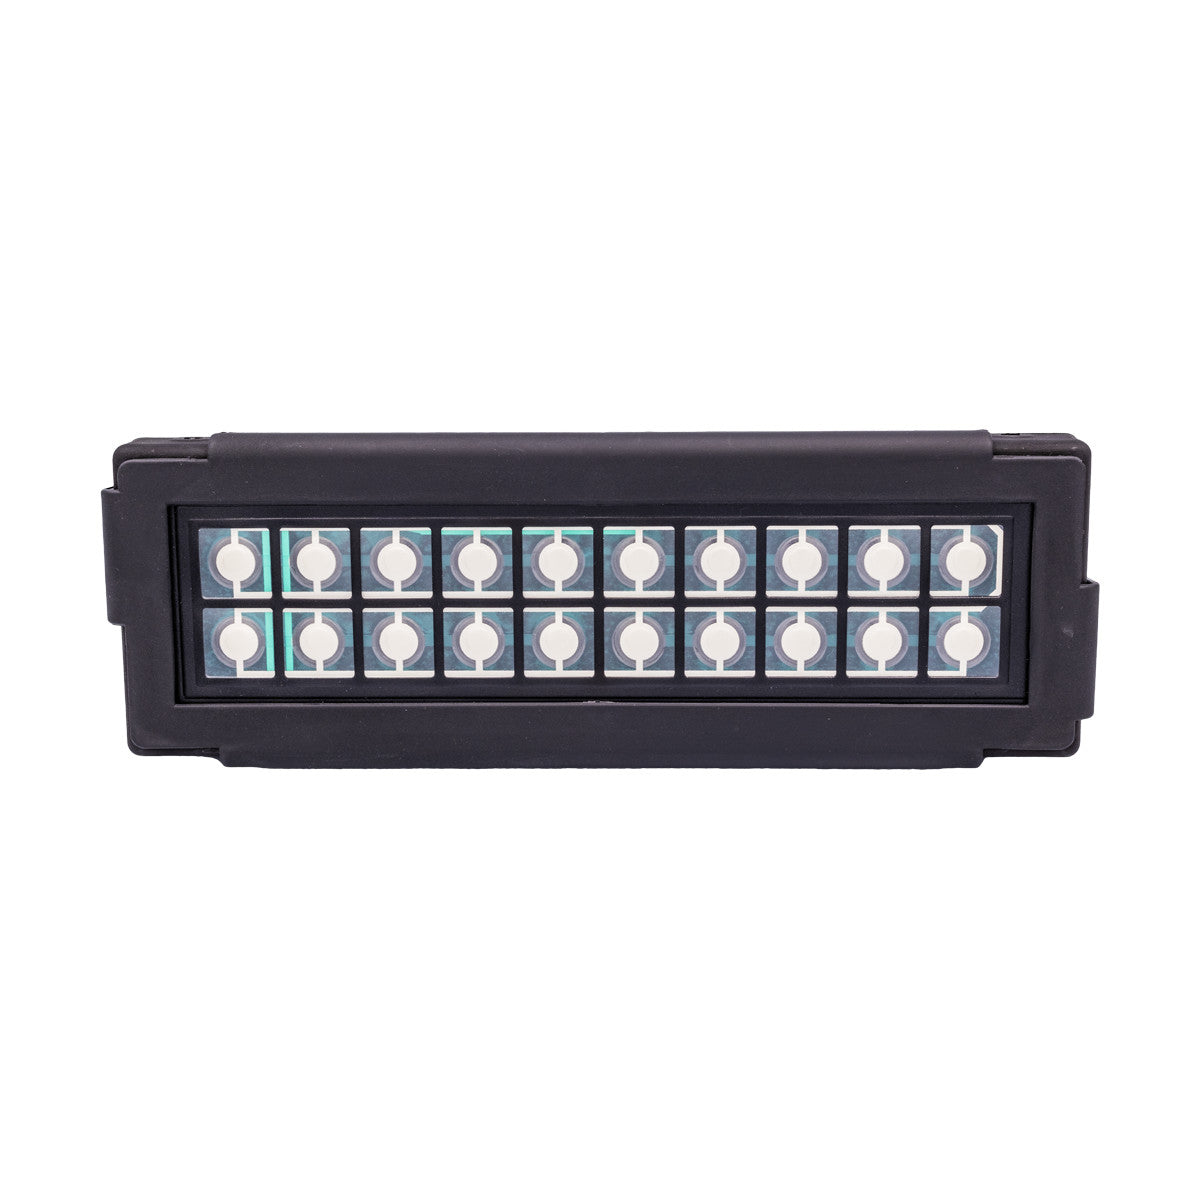
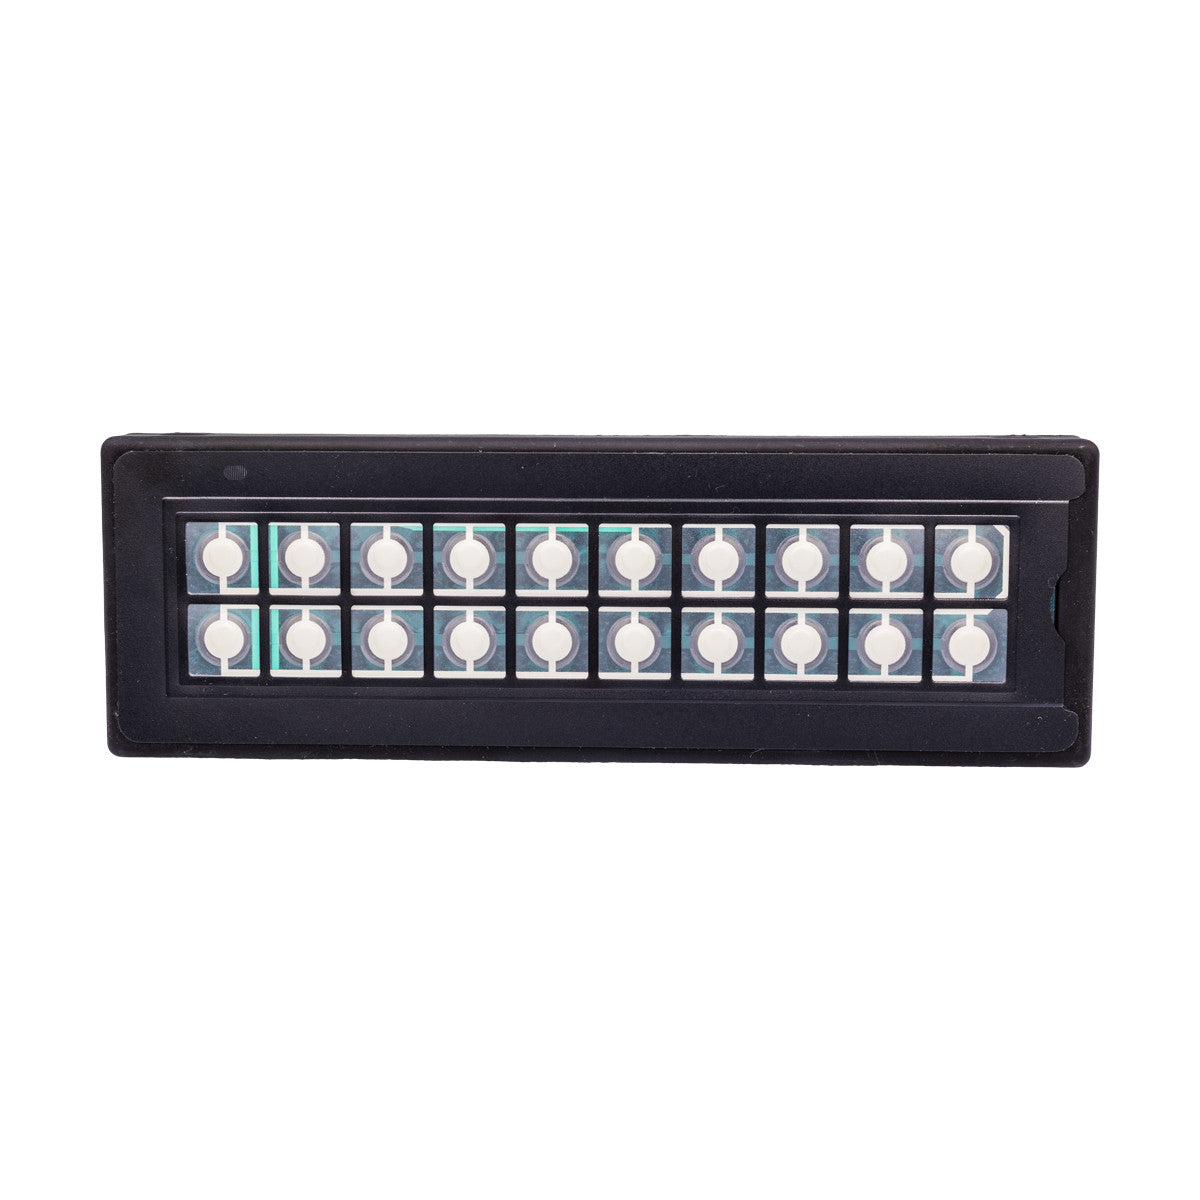
We make our Bumpbars to last, but restaurant kitchens can be harsh environments, which is why we offer the Nylon Bumpbar Repair Kit. Our Repair Kits allow you to breathe new life into your Bumpbar by re-using your existing Bumpbar’s circuit board and USB cable in a brand new housing with all new button switches. We also include a brand new Bumpbar Face Protector and Overlay Insert.
Each Nylon Repair Kit includes:
- One (1) 20-Button Nylon Housing
- One (1) Overlay Insert (compatible with selected configuration)
- One (1) Black Frame
- One (1) Cable Compartment Cover
- Seven (7) Black Screws
You will need to utilize your original USB cable, or use any compatible USB-B Cable.
Make sure to keep the circuit board and cable from your previous Bumpbar. To assemble, simply attach the membrane switch header cable to pins 2-14 (as labeled on the PCB for a 20 button keypad), plug cable into the USB Type B port on the PCB, run the cable through the compartment on the back of the housing, then screw all seven screws into place.
Dimensions: approx. 8.5” L x 3” W x 1.25” H
SKU:Model: TDS-R
